How to Edit Music Like a Pro: A Comprehensive Guide
Editing music is an essential skill for any musician, producer, or audio engineer. While the creative process of composing and recording music is exciting, editing is where you shape the raw material into a polished, professional track. Mastering the art of editing can transform a good song into a great one, making your music sound tighter, cleaner, and more impactful. Whether you’re editing your own tracks or working with other artists, learning how to edit music like a pro can elevate your work to the next level.
In this guide, we’ll explore essential editing techniques, from cutting and arranging audio to advanced processes like time alignment and automation. We’ll also cover tips on improving the flow and dynamics of your tracks, ensuring your final product is professional-grade. Additionally, we’ll show how platforms like Muibas.com can enhance your editing process by providing collaboration opportunities with other musicians and engineers, offering feedback, and testing ideas in real time.
- Preparing for the Editing Process
Before you dive into editing, there are several steps you can take to ensure a smooth workflow.
Organize Your Sessions
- Label Tracks: Name each track clearly (e.g., “Lead Vocals,” “Kick Drum,” “Guitar 1”) so you can quickly identify them.
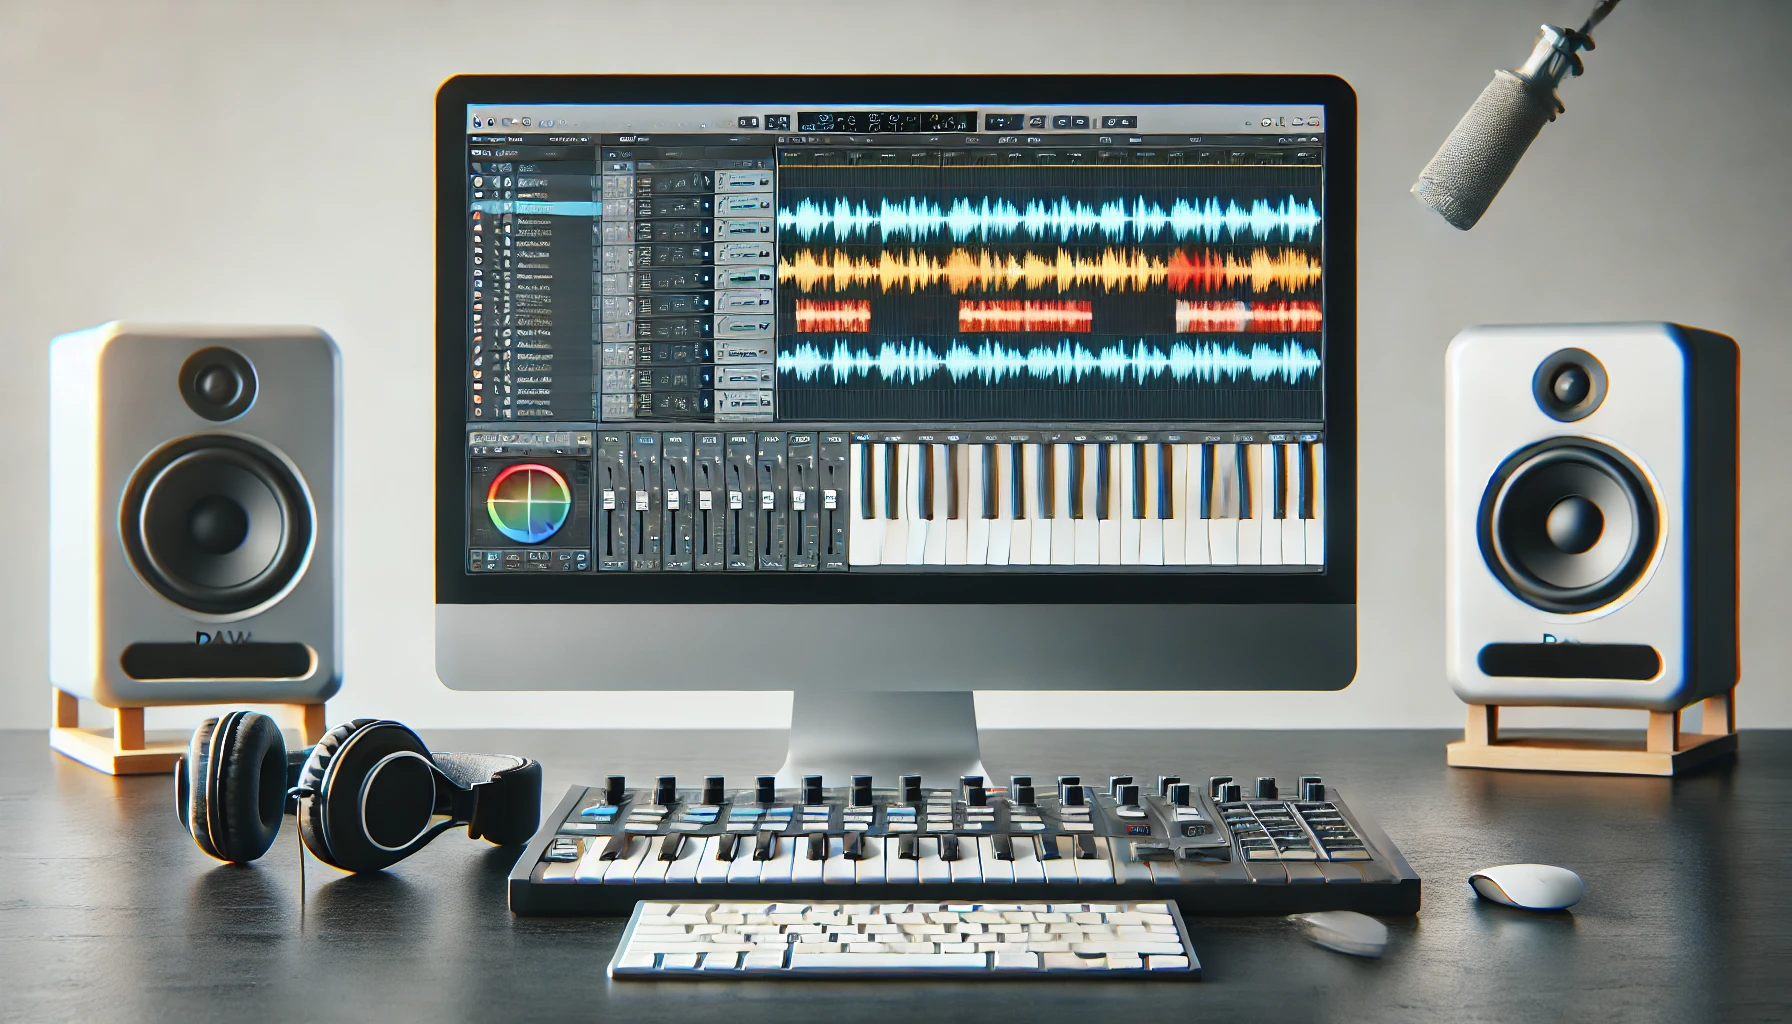
- Color Coding: Many DAWs (like Logic Pro X, Ableton Live, and Pro Tools) allow you to color-code your tracks, making it easier to navigate your session, especially if you have a large number of tracks.
- Markers: Use markers to highlight key points in the song (e.g., verse, chorus, bridge). This helps in quickly navigating between sections during editing.
Gain Staging
Before you begin detailed edits, check your levels. Gain staging ensures that none of your tracks are too loud or too soft, giving you a good foundation to work from when applying further processing like EQ and compression.
- Keep peaks between -6dB and -12dB to avoid distortion during the mixdown process.
- Normalize any tracks that have inconsistent volume.
- Cutting, Trimming, and Arranging Audio
The most basic but fundamental part of editing music is cutting and trimming your tracks to remove unnecessary noise and unwanted sections.
Cutting Silence
- Vocal Tracks: Remove breaths, coughs, or room noise between vocal lines to clean up the track. This can be done using the cut tool in your DAW or using automation to bring the volume down.
- Instruments: Cut out hums or string noise between parts. For example, trim the parts where a guitarist adjusts their hands on the fretboard or where a drummer drops a stick.
Tighten Performances
Editing out-of-time performances is crucial to creating a professional-sounding track.
- Quantization: For instruments or vocals that are rhythmically off, you can use quantization to snap the audio to the grid. This is particularly useful for drums and rhythm guitars.
- Manual Editing: For more nuanced performances (like vocals), manually dragging notes or phrases to fit the timing can feel more natural than using full quantization.
Rearranging Sections
You may want to change the song structure during the editing process.
- Duplicate or Move Sections: Copy and paste sections like choruses, verses, or bridge sections to modify the arrangement.
- Crossfades: When moving or cutting sections, apply crossfades to create smooth transitions between clips and avoid clicks or pops.
- Vocal Editing and Comping
Editing vocals requires precision since they are often the focal point of a song. Here’s how to edit vocals like a pro:
Comping Vocals
Comping involves combining the best parts of multiple vocal takes into one seamless track.
- Multiple Takes: Singers often record multiple takes. The editor’s job is to listen through each take and choose the best parts (e.g., the best verse from take 1, the best chorus from take 2) and merge them.
- Crossfading: Use small crossfades between clips to ensure smooth transitions without any audible cuts or clicks.
Pitch Correction
If a vocal performance is slightly out of tune, use pitch correction software like Auto-Tune, Melodyne, or the built-in tools in your DAW.
- Natural vs. Robotic Sound: If you want a subtle fix, use pitch correction sparingly to maintain a natural sound. For a more stylized, robotic effect (common in modern hip-hop and pop), apply more intense settings.
Timing Adjustments
Even great vocal performances might not be perfectly aligned with the beat. Use tools like Flex Time (in Logic) or Elastic Audio (in Pro Tools) to shift vocal phrases to fit the timing of the track.
- Drum and Rhythm Editing
Drums and rhythm instruments (like bass and rhythm guitar) form the foundation of many tracks. Editing these elements ensures the groove is tight and locked in.
Quantizing Drums
If your drum tracks (whether acoustic or programmed) are out of time, use quantization to align them with the beat. Most DAWs allow you to select the grid resolution (1/8, 1/16, etc.) to match the feel of the song.
- Acoustic Drums: If you’re editing live drums, make sure to apply the same quantization to all the drum mics (kick, snare, toms, etc.) simultaneously to avoid phase issues.
Locking Bass to Drums
The bass should always be in sync with the drums. After editing the drums, go through the bass track and ensure that it is locked in with the kick and snare. You can manually shift notes or use quantization to match the groove.
Guitar Editing
- Tighten Rhythm Guitars: Rhythm guitars should align with the drums and bass, especially in genres like rock, metal, or funk. You can use manual editing to tighten the timing of chord changes or strums.
- Double Tracking: If you’re double-tracking guitars, ensure both takes are tightly aligned for a full stereo effect.
- Automation: Adding Movement and Dynamics
Automation is where the magic happens in editing, adding movement, emotion, and excitement to your track.
Volume Automation
Adjust the volume of individual tracks or sections to create dynamic changes in the song.
- Smooth Transitions: Use automation to fade in and out of different sections (e.g., a gradual volume increase during the intro).
- Enhance Choruses: Many professional mixers automate a slight volume boost (1-2dB) during the chorus to make it pop.
Panning Automation
Create a sense of space by panning different instruments across the stereo field.
- Guitar Panning: For example, pan rhythm guitars hard left and right to create a wide stereo image, while keeping vocals and bass centered.
- Effects Panning: Automate effects like reverb or delay to move across the stereo field for a more immersive listening experience.
- Fine-Tuning with Crossfades and Transients
Crossfades are crucial in preventing pops and clicks when editing audio. They ensure smooth transitions between clips.
Crossfading Edits
Apply crossfades to every edit point, especially when comping vocals, joining two drum hits, or cutting guitar parts. Even small, quick crossfades (1-5ms) can eliminate unwanted noise.
Editing Transients
Transients are the initial attack of a sound (e.g., the „snap“ of a snare or the „pluck“ of a guitar string). Editing transients can make your track sound cleaner.
- Fixing Drum Hits: If a drum hit is slightly off-time, nudge the transient manually to ensure it aligns with the beat.
- Testing Your Mix and Getting Feedback with Muibas.com
Once you’ve edited your track to a professional standard, testing your mix with fresh ears is essential. This is where Muibas.com can help.
- Collaborate with Producers: Upload your track to Muibas and collaborate with other producers and audio engineers to get feedback on your editing and mixing.
- Find Vocalists or Musicians: If you need to enhance your track with additional instrumentation or vocals, Muibas connects you with musicians who can contribute to your project.
- Get Real-Time Feedback: Share your edited mix with other musicians on Muibas and get constructive feedback before finalizing the track.
Conclusion
Editing music like a pro is a skill that requires attention to detail, patience, and practice. By mastering techniques like comping, timing corrections, vocal tuning, and automation, you can elevate the quality of your recordings significantly. Whether you’re a musician or a producer, these techniques will help you achieve clean, polished tracks that stand out. Don’t forget to take advantage of platforms like Muibas.com for collaboration, feedback, and networking with other musicians and engineers. The more you edit and refine your tracks, the closer you’ll get to that professional sound you’re aiming for.


