How to Record Guitar at Home: A Comprehensive Guide for Beginners
Recording guitar at home is an exciting way to capture your creativity without the need for a professional studio. Whether you’re laying down tracks for your own music, jamming with a virtual band, or collaborating with musicians across the world, getting a great guitar sound is key. In this guide, we’ll cover everything you need to know to record guitar at home, from selecting the right gear to using Muibas.com for collaboration and feedback on your recordings.
- Setting Up Your Home Recording Space for Guitar
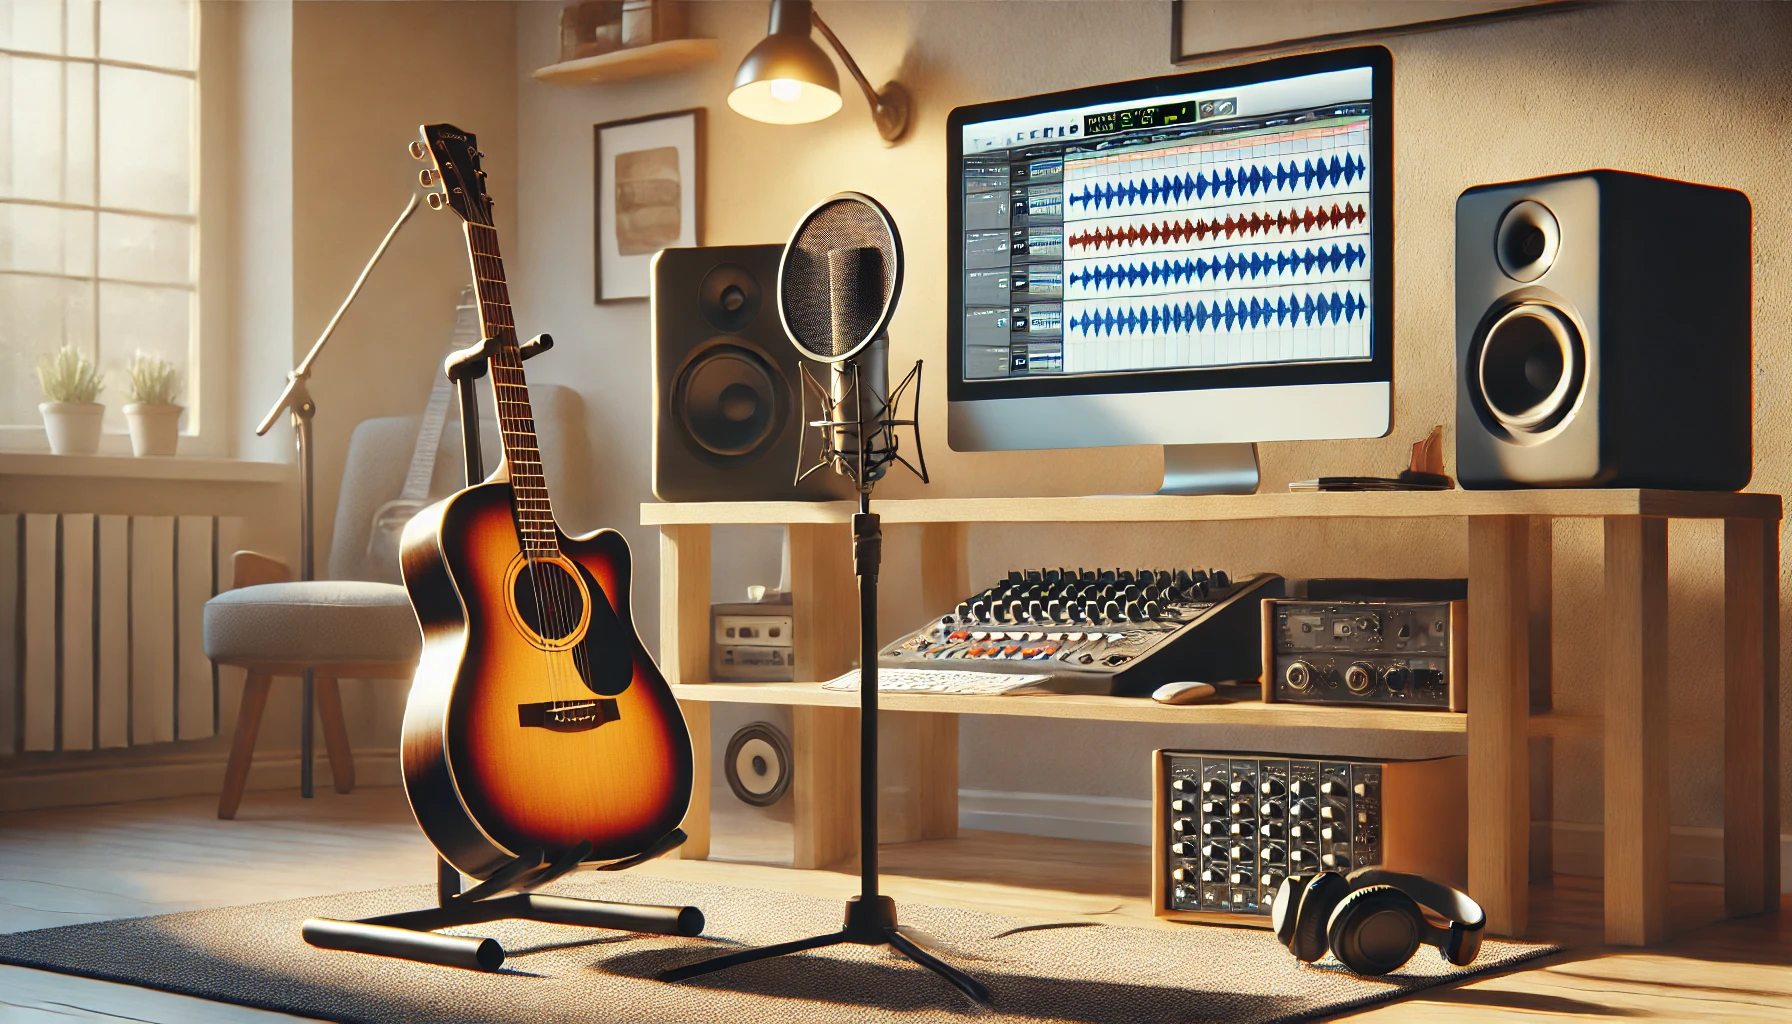
Before you start recording, you’ll need to set up a space where you can capture the best sound from your guitar. The good news is, you don’t need a professional studio, but there are a few things to keep in mind.
- Choose the Right Room: A room with carpets, curtains, or rugs is ideal, as these materials absorb sound and reduce unwanted reflections that could muddy your guitar recordings. Avoid small, bare rooms that can create unwanted echo.
- Acoustic Treatment: You don’t need expensive panels, but hanging blankets or placing foam pads behind your recording area can help improve sound quality. A well-treated space will ensure your guitar sounds clear and natural.
- Minimize Noise: Turn off fans, air conditioners, and any devices that create hums or background noise. The cleaner your recording environment, the better your guitar will sound in the mix.
- Choosing the Right Gear for Guitar Recording
Whether you’re recording acoustic or electric guitar, having the right equipment is essential. Here’s what you’ll need to get started:
Acoustic Guitar Recording
- Microphone: If you’re recording an acoustic guitar, a condenser microphone is your best option due to its sensitivity to detail. The Audio-Technica AT2020 or the Shure SM81 are great budget-friendly choices for recording acoustic guitar.
- Mic Placement: Position the microphone about 6-12 inches away from the 12th fret of the guitar. This spot captures a balance of the guitar’s low-end resonance and the brightness of the strings.
Electric Guitar Recording
- Audio Interface: For electric guitars, you’ll need an audio interface to record directly into your DAW (Digital Audio Workstation). Interfaces like the Focusrite Scarlett 2i2 or Presonus Audiobox are popular beginner options that offer great sound quality.
- Direct Input (DI) Recording: Recording directly through your audio interface (via a DI) is a simple way to capture clean guitar tones. You can then use amp simulators or effects plugins in your DAW to craft your sound.
- Microphone (for amp recording): If you prefer to mic your guitar amp, a dynamic microphone like the Shure SM57 works wonders for capturing guitar tones with clarity and punch. Position the mic a few inches from the center of the speaker cone for a brighter tone, or move it towards the edge for a darker, bass-heavy sound.
- Preparing for a Guitar Recording Session
Once your space and gear are set up, it’s time to prepare for your recording session.
- Tune Your Guitar: This may sound obvious, but always check your tuning before and during recording sessions. Even the slightest detuning can ruin an otherwise perfect take.
- Check Your Levels: Make sure your recording levels are set so that you don’t get any clipping (distortion). Aim for a peak level around -6dB to -12dB in your DAW.
- Use a Click Track: A click track (or metronome) helps you stay in time while recording. This is especially important if you plan to collaborate with other musicians later.
- Recording Techniques for Different Guitar Styles
The way you record your guitar will depend on the style of music you’re playing. Here are some techniques to help you capture the best sound for various styles:
Recording Acoustic Guitar
- Fingerpicking: For delicate fingerpicking, position the microphone closer to the fretboard to capture the detail and warmth of your fingers on the strings.
- Strumming: When recording strumming, place the microphone a bit further away from the guitar body to capture a more balanced sound between the body resonance and the string attack.
Recording Electric Guitar
- Clean Tones: For clean tones, use a DI (direct input) setup, then apply amp simulations in your DAW. Experiment with virtual pedals to find the perfect balance of effects.
- Distorted Tones: If you’re recording heavy, distorted tones, consider miking your amp. Place a dynamic microphone close to the speaker and adjust its position to find the tone you’re looking for. Many players like to blend both a DI track and a miked amp track for a fuller sound.
- Using Effects to Shape Your Guitar Sound
Once you’ve recorded your guitar, it’s time to shape the sound using effects and mixing techniques.
- EQ (Equalization): Use EQ to shape your guitar’s tone. Cut any muddy frequencies in the low end (below 80Hz) and boost the mid-range (around 2-5kHz) to make your guitar cut through the mix.
- Compression: Compression helps control the dynamics of your playing, making the loud parts quieter and the quiet parts louder. A light ratio (2:1 or 3:1) will smooth out your performance without making it sound unnatural.
- Reverb and Delay: Reverb adds space and depth to your guitar sound, making it feel as though it was recorded in a larger room. Delay can add a rhythmic echo to your playing and is often used in genres like rock and ambient music.
- Collaborating and Refining Your Guitar Recordings on Muibas.com
One of the most exciting parts of recording guitar at home is the ability to collaborate with other musicians and producers. Muibas.com makes it easy to share your recordings, collaborate on projects, and get feedback from other musicians.
- Collaborate with Musicians: Once you’ve recorded your guitar track, upload it to Muibas and invite musicians from around the world to contribute. Whether you need drums, bass, or vocals to complete your song, Muibas is the perfect platform to find collaborators.
- Receive Feedback: Not sure if your guitar tone is just right? Share your recordings with the Muibas community and get constructive feedback from fellow musicians and producers. This can help you refine your sound and improve your production skills.
- Network with Other Artists: Building a network of musicians is crucial for growth, and Muibas allows you to connect with artists from various genres and backgrounds. Whether you’re seeking collaborators for long-term projects or just looking for someone to jam with, Muibas can help you expand your creative circle.
- Finalizing and Sharing Your Guitar Tracks
After recording and collaborating, it’s time to finalize your guitar tracks and share them with the world.
- Mixing: Mixing is the process of balancing all the elements of your track, including guitar, bass, drums, and vocals. Focus on making sure each instrument has its place in the mix without clashing or overpowering others.
- Mastering: Mastering is the final polish that ensures your track sounds professional across all listening environments, from headphones to car speakers. If you’re new to mastering, consider hiring a professional or using an online service like LANDR.
- Distribution: Once your track is complete, use platforms like DistroKid, TuneCore, or CD Baby to distribute your music to streaming services like Spotify and Apple Music.
Conclusion
Recording guitar at home is a rewarding experience, allowing you to capture your musical ideas without the need for a professional studio. With the right equipment, techniques, and mindset, you can create high-quality guitar recordings from the comfort of your own home. And by leveraging Muibas.com, you can take your recordings to the next level by collaborating with other musicians and refining your sound.
Ready to start recording? Join Muibas.com today and connect with musicians across the globe to create, collaborate, and grow as an artist.


