How to Record Piano at Home: A Comprehensive Guide for Piano Players
Recording piano at home has never been more accessible. With the right tools and techniques, you can capture the beauty of your piano playing right from your home studio. Whether you’re recording a grand piano, an upright, or using a digital keyboard, this guide will walk you through the steps to achieve high-quality piano recordings. We’ll also explore how Muibas.com can help you collaborate with other musicians to enhance your piano tracks.
- Setting Up Your Recording Space for Piano
The key to recording piano at home is finding the right space and setting it up to capture the best possible sound. While pianos are large and resonate deeply, small adjustments in the room can make a big difference in the quality of your recordings.
- Choose the Right Room: A larger room with soft surfaces like rugs, curtains, and furniture works best. These materials help absorb sound, reducing echo and reverb. If you’re working in a smaller space, consider adding foam panels or blankets to reduce unwanted reflections.
- Reduce Background Noise: Eliminate any background noise by turning off fans, air conditioners, or any devices that may create hums or interruptions. The quieter your space, the more your piano’s natural resonance will stand out.
- Choosing the Right Recording Method
Recording piano at home depends on the type of piano you have (acoustic or digital) and the sound you want to achieve.
Recording Acoustic Piano
There are two main ways to record an acoustic piano: using microphones for an acoustic piano or using a direct input (DI) for a digital piano or keyboard.
- Microphone Placement for Acoustic Pianos: For an acoustic piano, microphone placement is crucial. Here are a few options:
- Grand Piano: Use two condenser microphones (like the Audio-Technica AT2020 or Shure KSM32) to capture the full sound. Place one microphone over the bass strings and another over the treble strings inside the open lid.
- Upright Piano: Place microphones close to the back of the piano or slightly above the keys. Adjust the distance and angle to balance the low and high frequencies.
- Dynamic vs. Condenser Mics: Condenser microphones are typically preferred for recording piano because of their sensitivity and ability to capture detail across the full frequency range of the instrument.
Recording Digital Piano or Keyboard
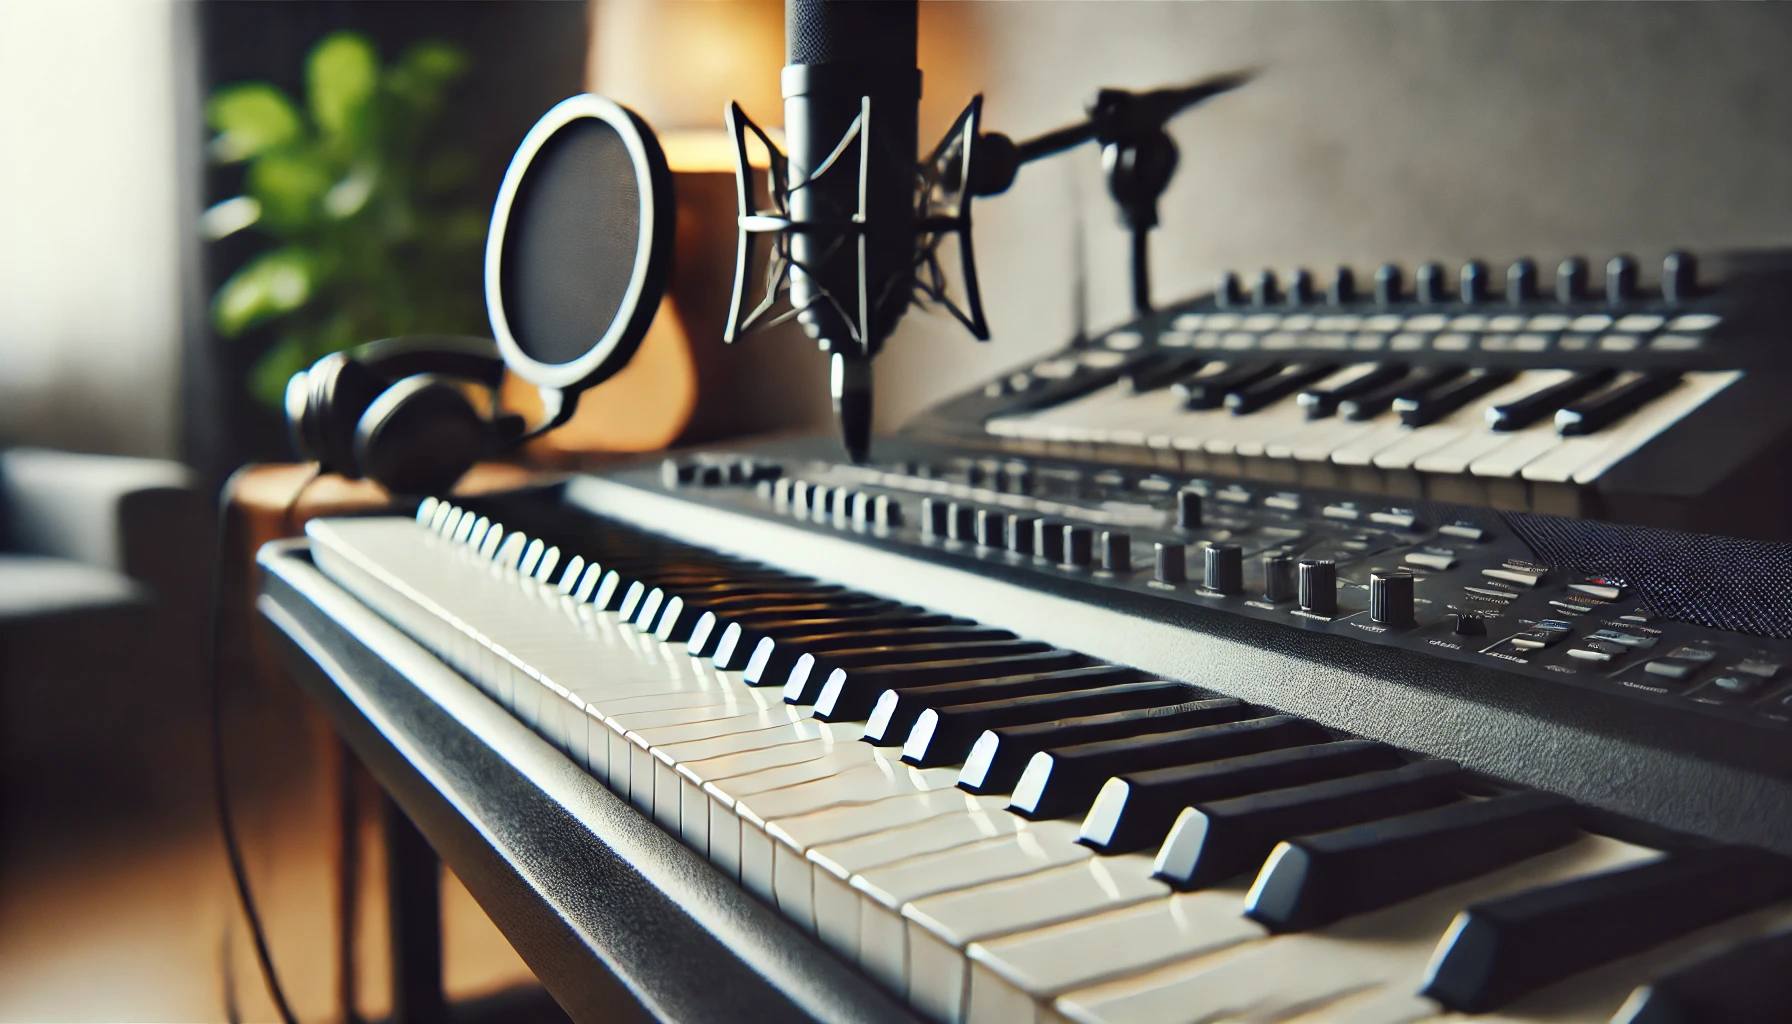
If you’re using a digital piano or MIDI keyboard, recording is simpler and cleaner as it doesn’t involve microphones. Instead, you’ll connect your piano directly to your computer or DAW (Digital Audio Workstation).
- Direct Input (DI): Plug your digital piano into an audio interface (like the Focusrite Scarlett 2i2), which will transfer the signal to your DAW. This method eliminates background noise and gives you complete control over your sound.
- MIDI Recording: With a MIDI controller, you can record data that captures your performance (velocity, timing, and dynamics), allowing you to modify the sound later using virtual instruments in your DAW.
- Preparing to Record Piano
Once your setup is complete, you’ll need to take a few preparatory steps to ensure your recording sounds professional.
- Tune Your Piano: If you’re recording an acoustic piano, ensure it’s properly tuned before starting your session. Even slight tuning issues can affect the overall quality of your recording.
- Adjust Your Levels: Whether you’re using microphones or recording digitally, make sure your input levels are set correctly. Aim for levels that peak around -6dB to -12dB to avoid clipping or distortion.
- Mic Placement for Desired Sound: Adjust the mic position to capture different tonal qualities. Moving the microphone closer to the piano strings will result in a brighter, more direct sound, while placing it further away will create a softer, more ambient recording.
- Recording Techniques for Piano
Depending on the style of music and the sound you’re aiming for, you can use different recording techniques to achieve the desired tone and clarity.
Classical Piano Recording
For classical piano, the goal is to capture the full dynamic range and subtlety of the performance. Use a pair of condenser microphones and experiment with stereo recording techniques like X/Y or ORTF configurations to capture a natural stereo image of the piano.
Pop and Jazz Piano Recording
In pop and jazz recordings, piano often needs to sit well in a mix with other instruments. Focus on achieving a clean sound that allows the piano to cut through without overwhelming the other elements. You might want to add a touch of compression to even out the dynamics.
Ambient or Experimental Piano
If you’re experimenting with ambient or minimalist music, try placing the microphones further away from the piano to capture the natural reverb of the room. You can also add effects like reverb and delay in your DAW to create a dreamy or ethereal sound.
- Enhancing Your Piano Sound with Effects
Once you’ve recorded your piano, it’s time to enhance the sound using effects in your DAW.
- EQ (Equalization): Use EQ to balance the frequencies. Cut any low-end rumble (below 100Hz) and boost the midrange (2-5kHz) for clarity and presence.
- Compression: Light compression can help even out the dynamic range of the piano. A gentle compression ratio (2:1 or 3:1) will smooth out any peaks without making the sound feel squashed.
- Reverb: Reverb adds depth and space to your piano recording. Use it to recreate the feel of playing in a concert hall or a larger room.
- Collaborating and Refining Your Piano Recordings on Muibas.com
Recording piano at home can be a solo endeavor, but it doesn’t have to be. Muibas.com offers a platform where you can collaborate with other musicians to enhance your piano recordings and take your music to the next level.
- Collaborate with Musicians: Upload your piano tracks to Muibas and find collaborators to add other instruments, vocals, or production elements. This is especially useful if you’re working on a full song or need a producer to help with mixing and mastering.
- Receive Feedback: If you’re unsure about your recording or the mix, share your project on Muibas and get feedback from fellow musicians. They can help you improve the balance, tone, or arrangement of your piano tracks.
- Expand Your Network: Networking with other musicians on Muibas can open doors to new creative possibilities. Collaborating with artists from different genres can inspire new ideas and push your piano playing to new heights.
- Finalizing and Sharing Your Piano Tracks
After you’ve recorded and refined your piano tracks, it’s time to finalize them and share them with the world.
- Mixing: Mix your piano recordings to ensure that they sound balanced and professional. Pay attention to the dynamics and tonal balance, making sure that your piano sits well in the overall mix, especially if it’s part of a larger arrangement.
- Mastering: Mastering adds the final polish to your track, ensuring that it sounds consistent across all playback devices. If you’re new to mastering, consider using online mastering services like LANDR or hire a professional mastering engineer.
- Distribution: Once your piano track is ready, use platforms like DistroKid, TuneCore, or CD Baby to distribute your music to streaming platforms such as Spotify, Apple Music, and YouTube.
Conclusion
Recording piano at home can be a deeply rewarding process, allowing you to capture your performance with clarity and emotion. By following the steps outlined in this guide, you’ll be able to produce high-quality piano recordings from your home studio. And by leveraging Muibas.com, you can collaborate with musicians worldwide, receive feedback, and refine your sound.
Ready to take your piano recordings to the next level? Join Muibas.com today and start connecting with musicians from around the globe to create beautiful music together!


