How to Record Rap Vocals at Home: A Step-by-Step Guide for Rappers
Recording high-quality rap vocals at home is an essential skill for any rapper looking to make their mark in the music industry. Thanks to modern technology, you can achieve professional-grade results from the comfort of your own space. This guide will walk you through the process of recording rap vocals, from setting up your home studio to using Muibas.com for collaboration with producers, engineers, and fellow rappers.
- Setting Up Your Recording Space
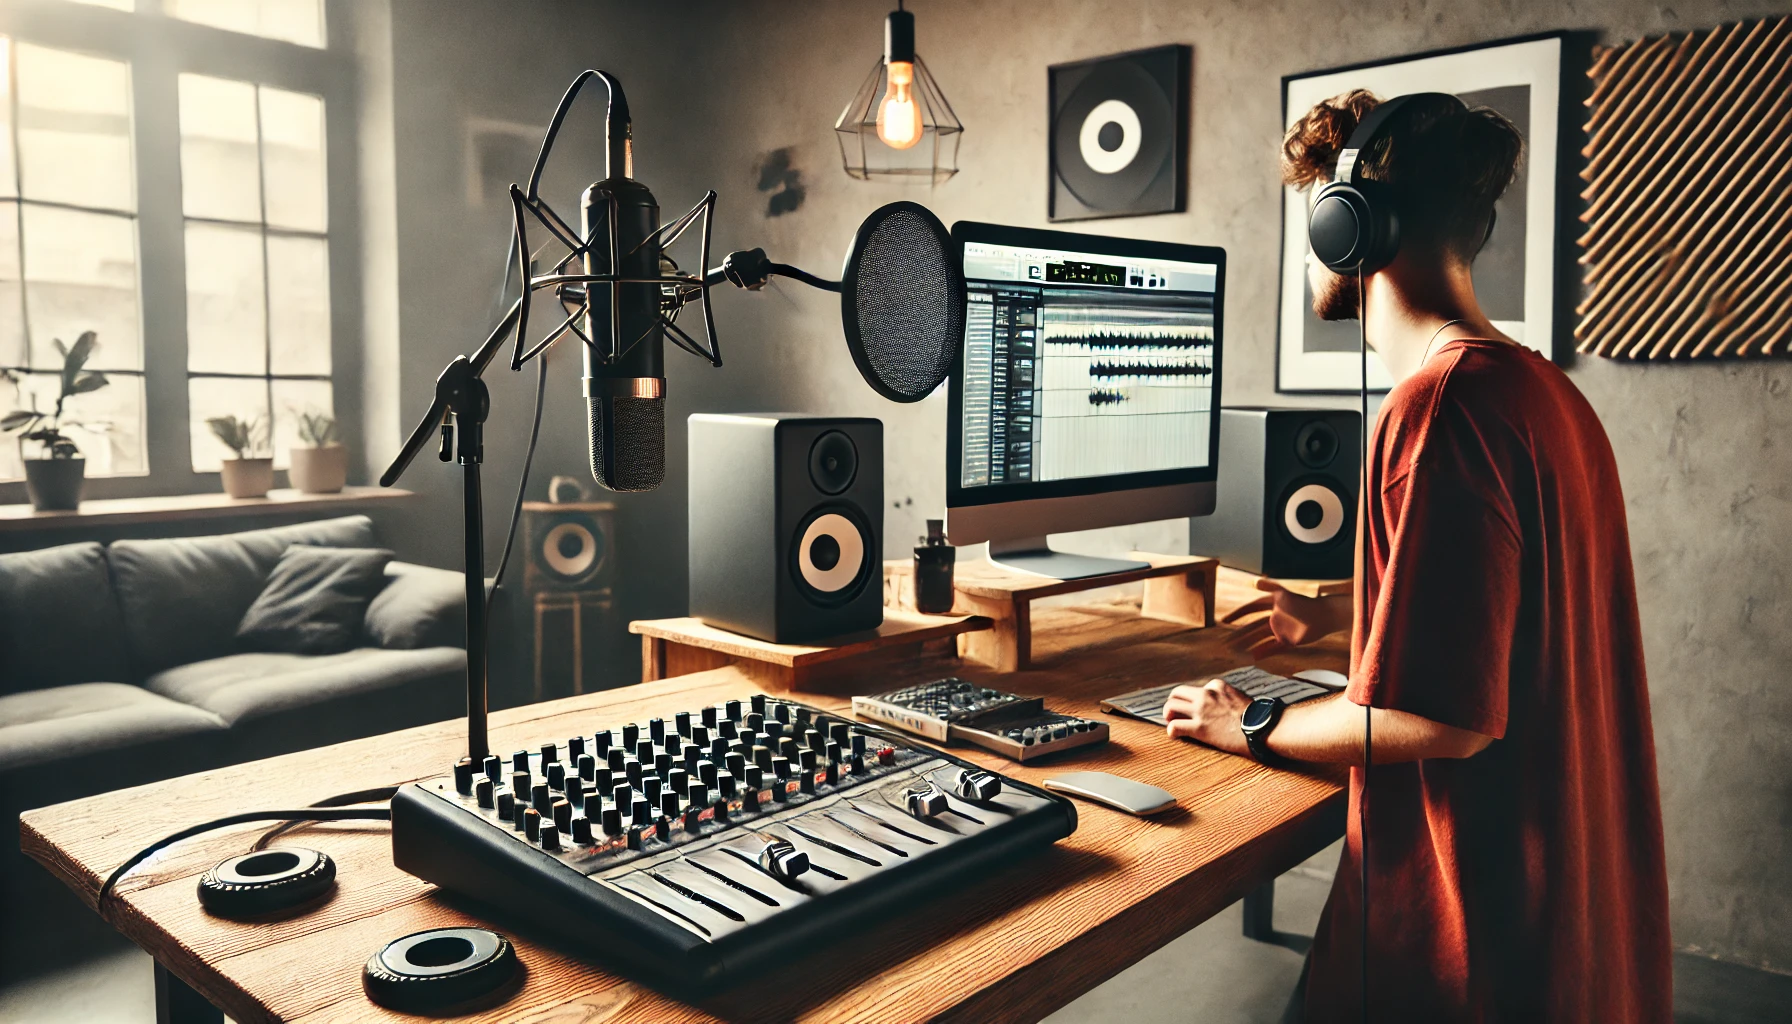
The quality of your rap vocals depends on the recording environment. To achieve clean and clear recordings, you’ll need to control your space as much as possible.
- Choose the Right Room: Choose a room with soft surfaces like carpets, curtains, or furniture to absorb sound. Avoid spaces with hard surfaces that create unwanted echoes and reflections.
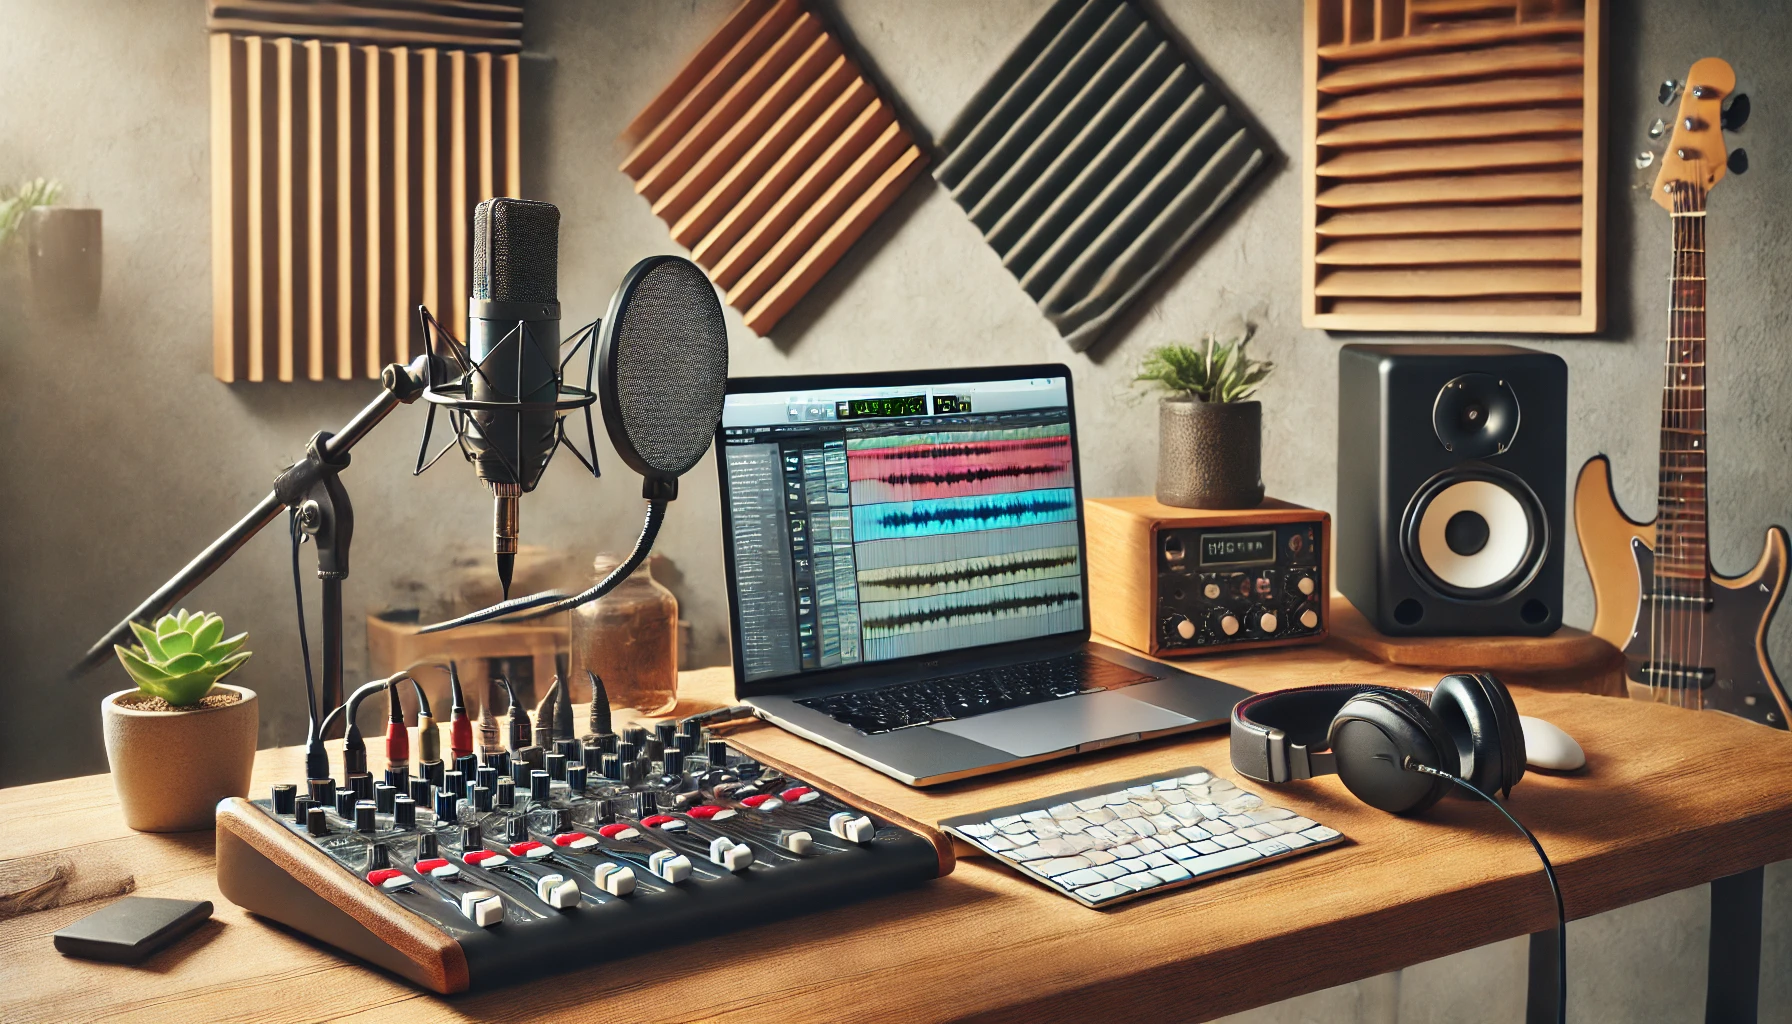
- Acoustic Treatment: Consider adding foam panels or hanging blankets to improve sound absorption. If you don’t have professional acoustic treatment, even simple DIY methods like putting pillows around your recording area can reduce room noise.
- Minimize Background Noise: Turn off any noisy electronics or appliances to keep your recordings clean. The quieter the space, the better your vocals will sound.
- Choosing the Right Gear for Rap Vocal Recording
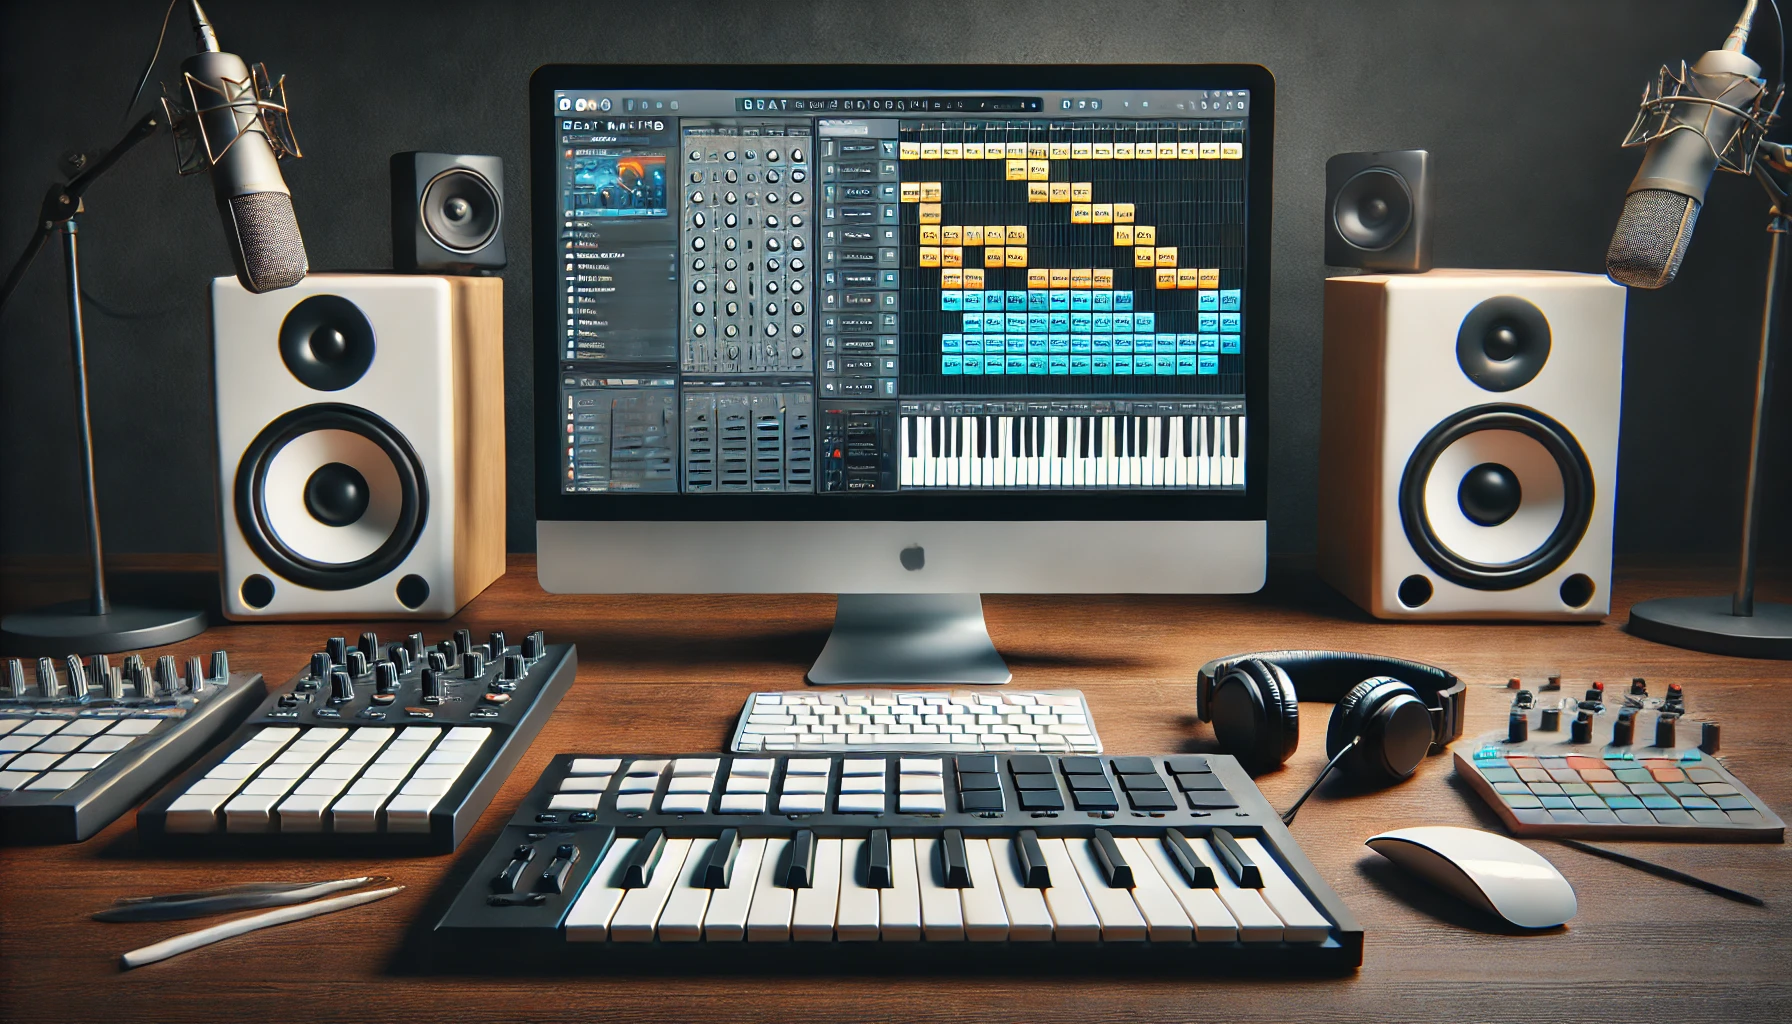
To record rap vocals at home, you’ll need some basic equipment. Investing in good gear ensures that your vocals are captured accurately and sound professional.
- Microphone: A good condenser microphone is ideal for recording vocals. The Audio-Technica AT2020 and Rode NT1-A are affordable, high-quality options that capture the nuances of your voice with clarity.
- Audio Interface: An audio interface converts the analog signal from your microphone into digital audio. Interfaces like the Focusrite Scarlett 2i2 or PreSonus AudioBox are popular among home recorders for their sound quality and ease of use.
- Pop Filter: A pop filter is essential for reducing harsh plosive sounds (such as „P“ and „B“ sounds) that can distort your vocals. It’s a cheap but effective tool for achieving cleaner recordings.
- Headphones: Closed-back headphones like the Audio-Technica ATH-M50x are excellent for monitoring your vocals while recording. These prevent sound from leaking into the microphone, ensuring a clean vocal take.
- Mic Stand: A sturdy mic stand is important for keeping your microphone stable and preventing handling noise during recording.
- Preparing to Record Rap Vocals
Before hitting the record button, make sure your setup is optimized for a smooth session.
- Mic Placement: Place the microphone about 6-12 inches from your mouth, and slightly angle it to the side to avoid plosive sounds. You can experiment with distance depending on the tone and projection of your voice.
- Warm-Up Your Voice: Rap may not require the same vocal warm-ups as singing, but warming up can still improve your delivery. Do some light exercises, practice breath control, and loosen your jaw and lips.
- Use a Click Track or Beat: To ensure your timing is tight, record with the beat playing in your headphones. Make sure your DAW’s (Digital Audio Workstation) metronome is synced with the beat.
- Check Levels: Set your input levels to ensure your loudest parts don’t clip (distort). Your DAW should show levels between -6dB and -12dB when you’re performing at your peak volume.
- Recording Techniques for Rap Vocals
Different genres of rap may require slightly different vocal recording techniques, but these general tips will help you capture strong, professional takes:
- Multiple Takes: Record multiple takes of your verse or chorus. Even professional rappers rarely get the perfect take in one try. Multiple takes allow you to choose the best parts of each recording during the editing phase.
- Double-Tracking: Many rap tracks feature double-tracked vocals, where the rapper records the same verse twice and layers them for a fuller sound. This technique is commonly used for emphasis, especially in hooks or choruses.
- Ad-libs and Background Vocals: Record additional takes for ad-libs (short vocal phrases) and background vocals to fill in gaps and add energy to your track. These extra layers can create depth and excitement.
- Emotion and Performance: Rap is about delivering lyrics with conviction. Don’t be afraid to exaggerate your energy and emotion, as this will translate into a stronger performance on the track.
- Editing and Enhancing Your Rap Vocals
After you’ve captured your vocal performance, it’s time to edit and enhance it using effects in your DAW.
- EQ (Equalization): Use EQ to remove any unwanted low-end rumble (below 80Hz) and boost the midrange (around 2-5kHz) for clarity. This helps your vocals cut through the mix without clashing with the beat.
- Compression: Compression is essential for controlling the dynamic range of rap vocals. Set a medium ratio (4:1) to smooth out any volume inconsistencies and add punch to your voice.
- Reverb and Delay: Use reverb and delay sparingly to create space in your vocals without making them sound distant. Short reverb times can add warmth, while delay can be used to create rhythmic echoes.
- De-Esser: A de-esser is used to tame harsh „S“ sounds that can become unpleasant when amplified by a microphone. This tool is key for achieving a professional, polished vocal sound.
- Collaborating with Producers and Artists on Muibas.com
Once your rap vocals are recorded, you can take your music to the next level by collaborating with other artists and producers on Muibas.com. This platform connects musicians from around the world, allowing you to expand your creative network.
- Find Producers for Beats: Whether you need a custom beat or want feedback on a beat you’re using, Muibas is the perfect place to connect with producers who can elevate your tracks.
- Collaborate with Other Rappers: Collaborate with fellow rappers for features, verse exchanges, or cypher-style tracks. Muibas makes it easy to share projects and ideas with artists across the globe.
- Get Feedback from Engineers: Share your raw vocal recordings with audio engineers on Muibas to get tips on mixing and mastering. A professional mix can make a huge difference in the final sound of your track.
- Brainstorm Ideas: Use Muibas to connect with musicians and producers for brainstorming sessions, whether it’s refining lyrics, developing hooks, or coming up with new musical ideas.
- Finalizing and Releasing Your Rap Tracks
After your vocals are recorded and refined, it’s time to finalize your track and share it with the world.
- Mixing: Make sure all elements of the track—vocals, beat, and ad-libs—sit well together. Mixing ensures your vocals are balanced with the beat, creating a cohesive and professional sound.
- Mastering: Mastering adds the final polish to your track, ensuring it sounds great across all playback devices. If you’re unsure about mastering, consider using an online service like LANDR or hiring a professional mastering engineer.
- Distribution: Once your track is complete, distribute it using services like DistroKid, TuneCore, or CD Baby. These platforms will get your music on streaming services like Spotify, Apple Music, and YouTube.
Conclusion
Recording rap vocals at home is a straightforward process when you have the right equipment, techniques, and mindset. By following the steps outlined in this guide, you’ll be able to create high-quality rap tracks that sound professional and polished. And by using Muibas.com, you can collaborate with other rappers, producers, and engineers, helping you refine your sound and take your music to new heights.
Ready to start recording? Join Muibas.com today and collaborate with musicians from around the world to turn your rap vocals into full-fledged tracks!


